This Is Not A Tutorial For Making Fully-Lined Curtains
The reason it's not a tutorial for making fully lined curtains (with invisible seams, no less) is because I just finished making 10m of fully-lined curtains with invisible seams and I'm exhausted. Wrestling that much fabric is challenging enough without having to stop and take bloomin' photos of every step.
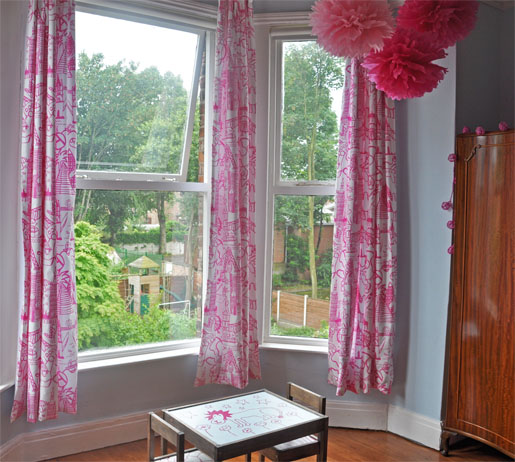
Anyway, you just want to see what they look like, right?
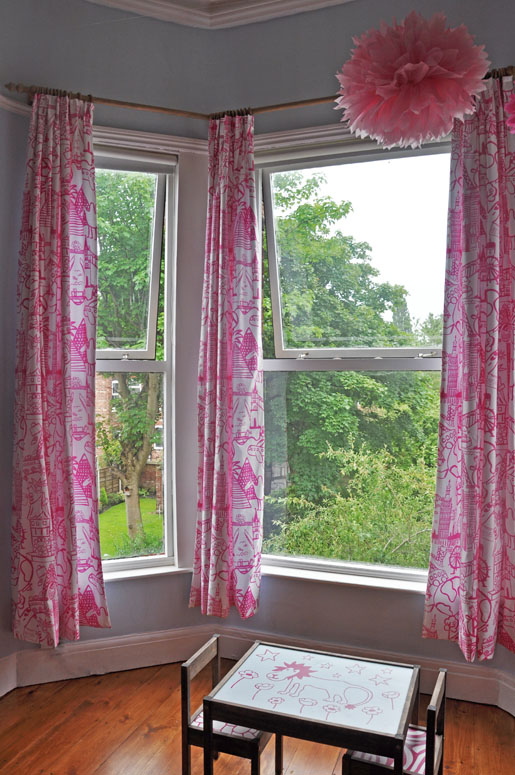
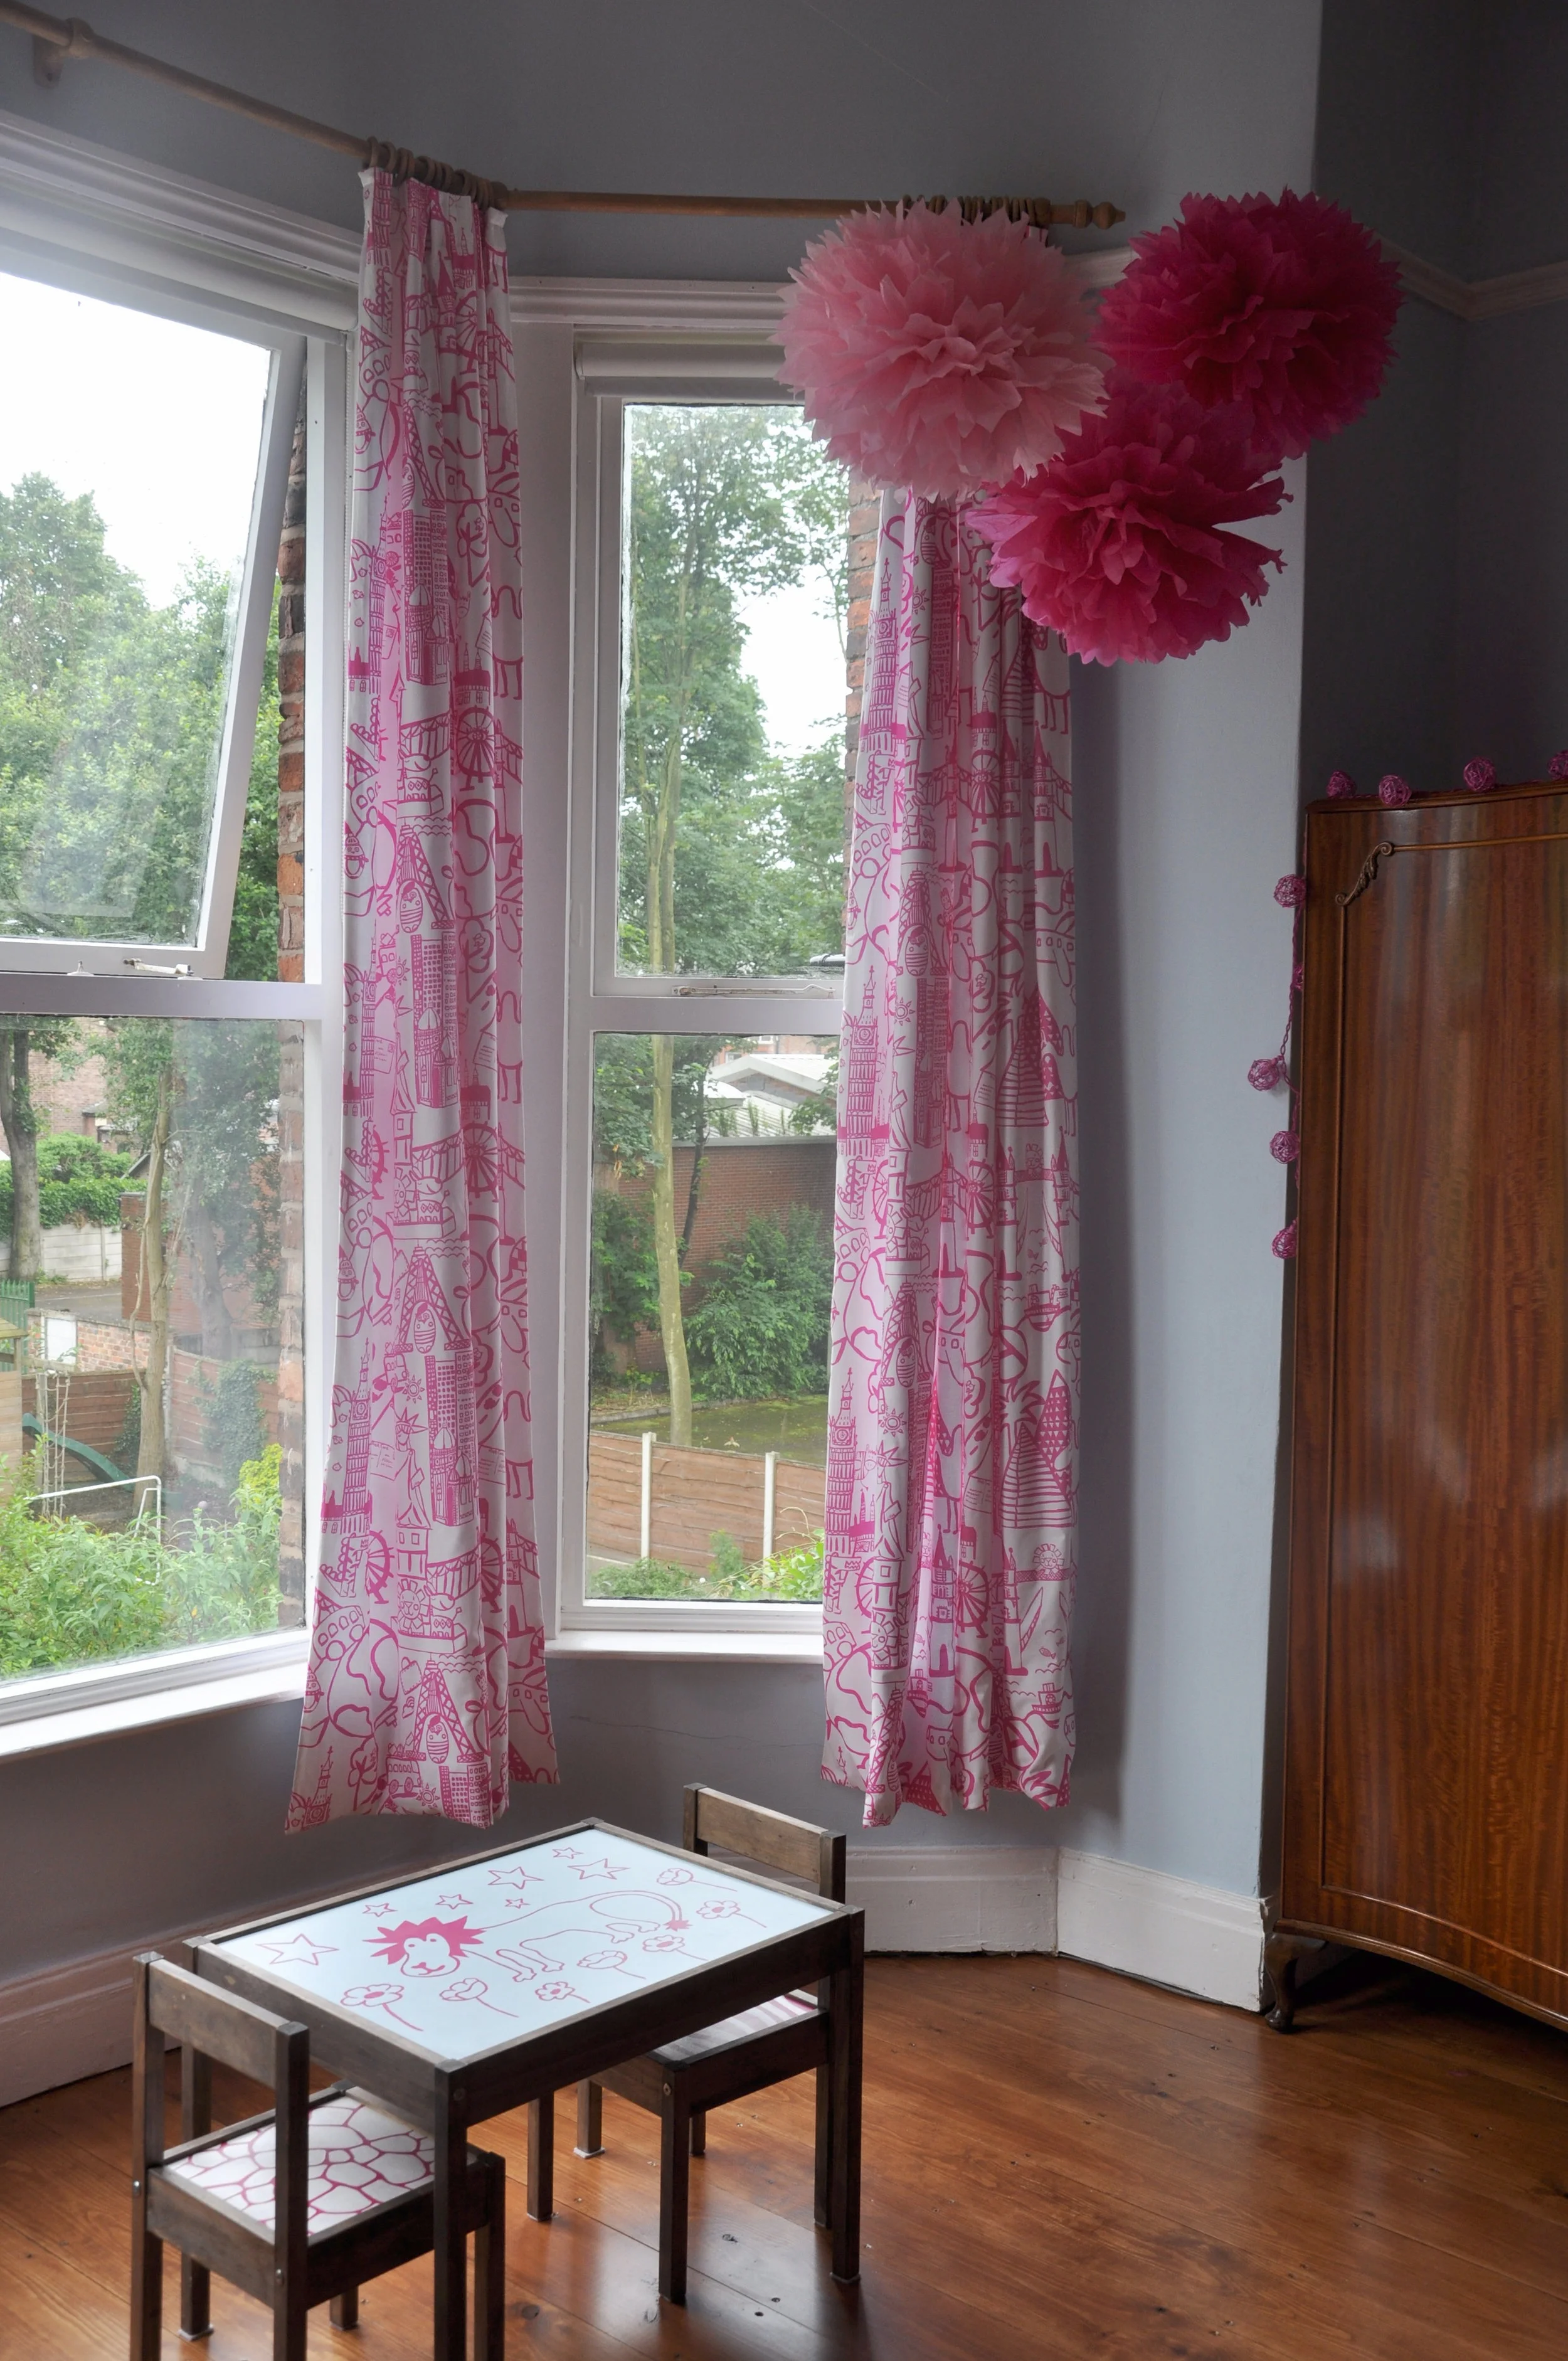
Soooooo pretty. I decided a few months back that for Eva's bedroom curtains I wanted either hot pink fabric with a white pattern (or white with a hot pink pattern), with a travel/world/animal theme executed in a hand-drawn style. So a nice, vague requirement, then. That should have been super easy to find. Actually - it was. Here in the UK it's impossible to find the trendy plain geometric fabric that seems readily available in the US, but we knock it out of the park when it comes to childrens' fabric. I discovered this Destination Fuschia fabric in pretty much the first online store I came across, and it turned out to be totally perfect.

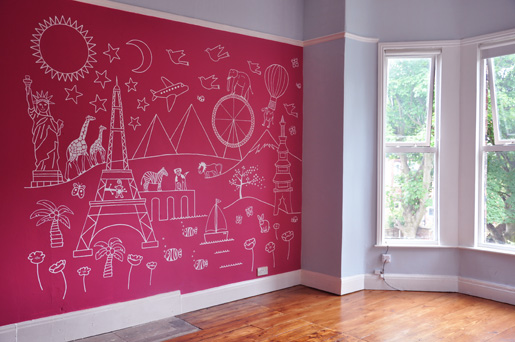
I loved the fabric so much that I designed Eva's mural to co-ordinate with it - white hand drawings on hot pink featuring with the Eiffel Tower, Statue of Liberty, London Eye, Pyramids, palm trees, a camel, a lion, birds, an airplane...
I hung the curtains using our old curtain poles from our first house, which I purchased from B&Q and stained with Colron wood dye in Jacobean Oak.

A few tips for making enormous fully-lined curtains with invisible seams. First of all, you need enough floor space to lie the length of fabric out flat. Secondly, the best way of working out where to put the seams (I wanted my liners to be about an inch shorter on each side than the main fabric, meaning working out the seams wasn't easy as you're sewing a larger piece of fabric to a smaller piece of fabric) is to lie the fabric on the floor on a cotton sheet or blanket, and iron the crease in place.
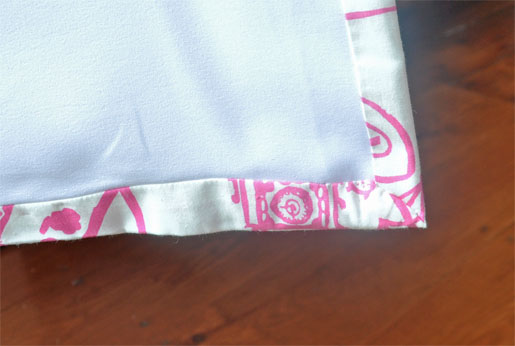
Thirdly, don't be afraid to grit your teeth and unpick yet. another. seam that didn't go quite right - it will be worth it in the end, promise!
You may spot in these pictures that some Additional Changes have taken place in Eva's bedroom. As in - it's finished! And I couldn't be happier with the end result, not least because she absolutely adores her new room and runs round and round it shrieking excitedly and pointing to things. You're going to have to wait for the full after pictures though, cos first of all I need to tell you all about how I re-upholstered a chair. Next week, though. For now, I'm going to go and sit with my gorgeous cuddly girl in her big girl bedroom. And most likely try and stop her from drawing in felt-tip pen on the new curtains.