Family Bathroom DIY Renovation After Pictures

Well, after six months of hard labour this bathroom's as done as it's going to be for now, so here are the after photos! I've got more posts planned sharing the details of how I renovated the bath and tackled the tiling, along with a full product list, but this one's all about the pictures.
I purchased a number of the products that we used in the bathroom renovation using a modest discount provided by Bathroom Takeaway, a company that I met during the Northern Blog Awards last year. These products are linked below. I'm happy to be able to give all readers of Simply The Nest a 10% discount on all products from Bathroom Takeaway using code SIMPLY10, which is valid until 30 August 2018. Happy shopping!

My new favourite room in our house (and the kitchen gives the bathroom a good run for its money!)

My eyes! Hard to believe we lived with the room like this for months while we slowly took it back to brick and then built it all up again.

And this was the starting point, taken the day we moved in.
OK, let's take a look at another corner of the bathroom.

The Jack Russells basically live in the bathroom, thanks to the lovely toasty underfloor heating!
I chose a corner opening glass shower enclosure from Bathroom Takeaway, which came with a stone tray. We needed a corner opener due to the layout of the room, and this one's a beauty, measuring a generous 1200mm x 900mm. I also chose a chrome thermostatic shower with a rainfall overhead and a smaller hand shower attachment.

I matched up the white metro on the left with the faux marble within the shower enclosure.
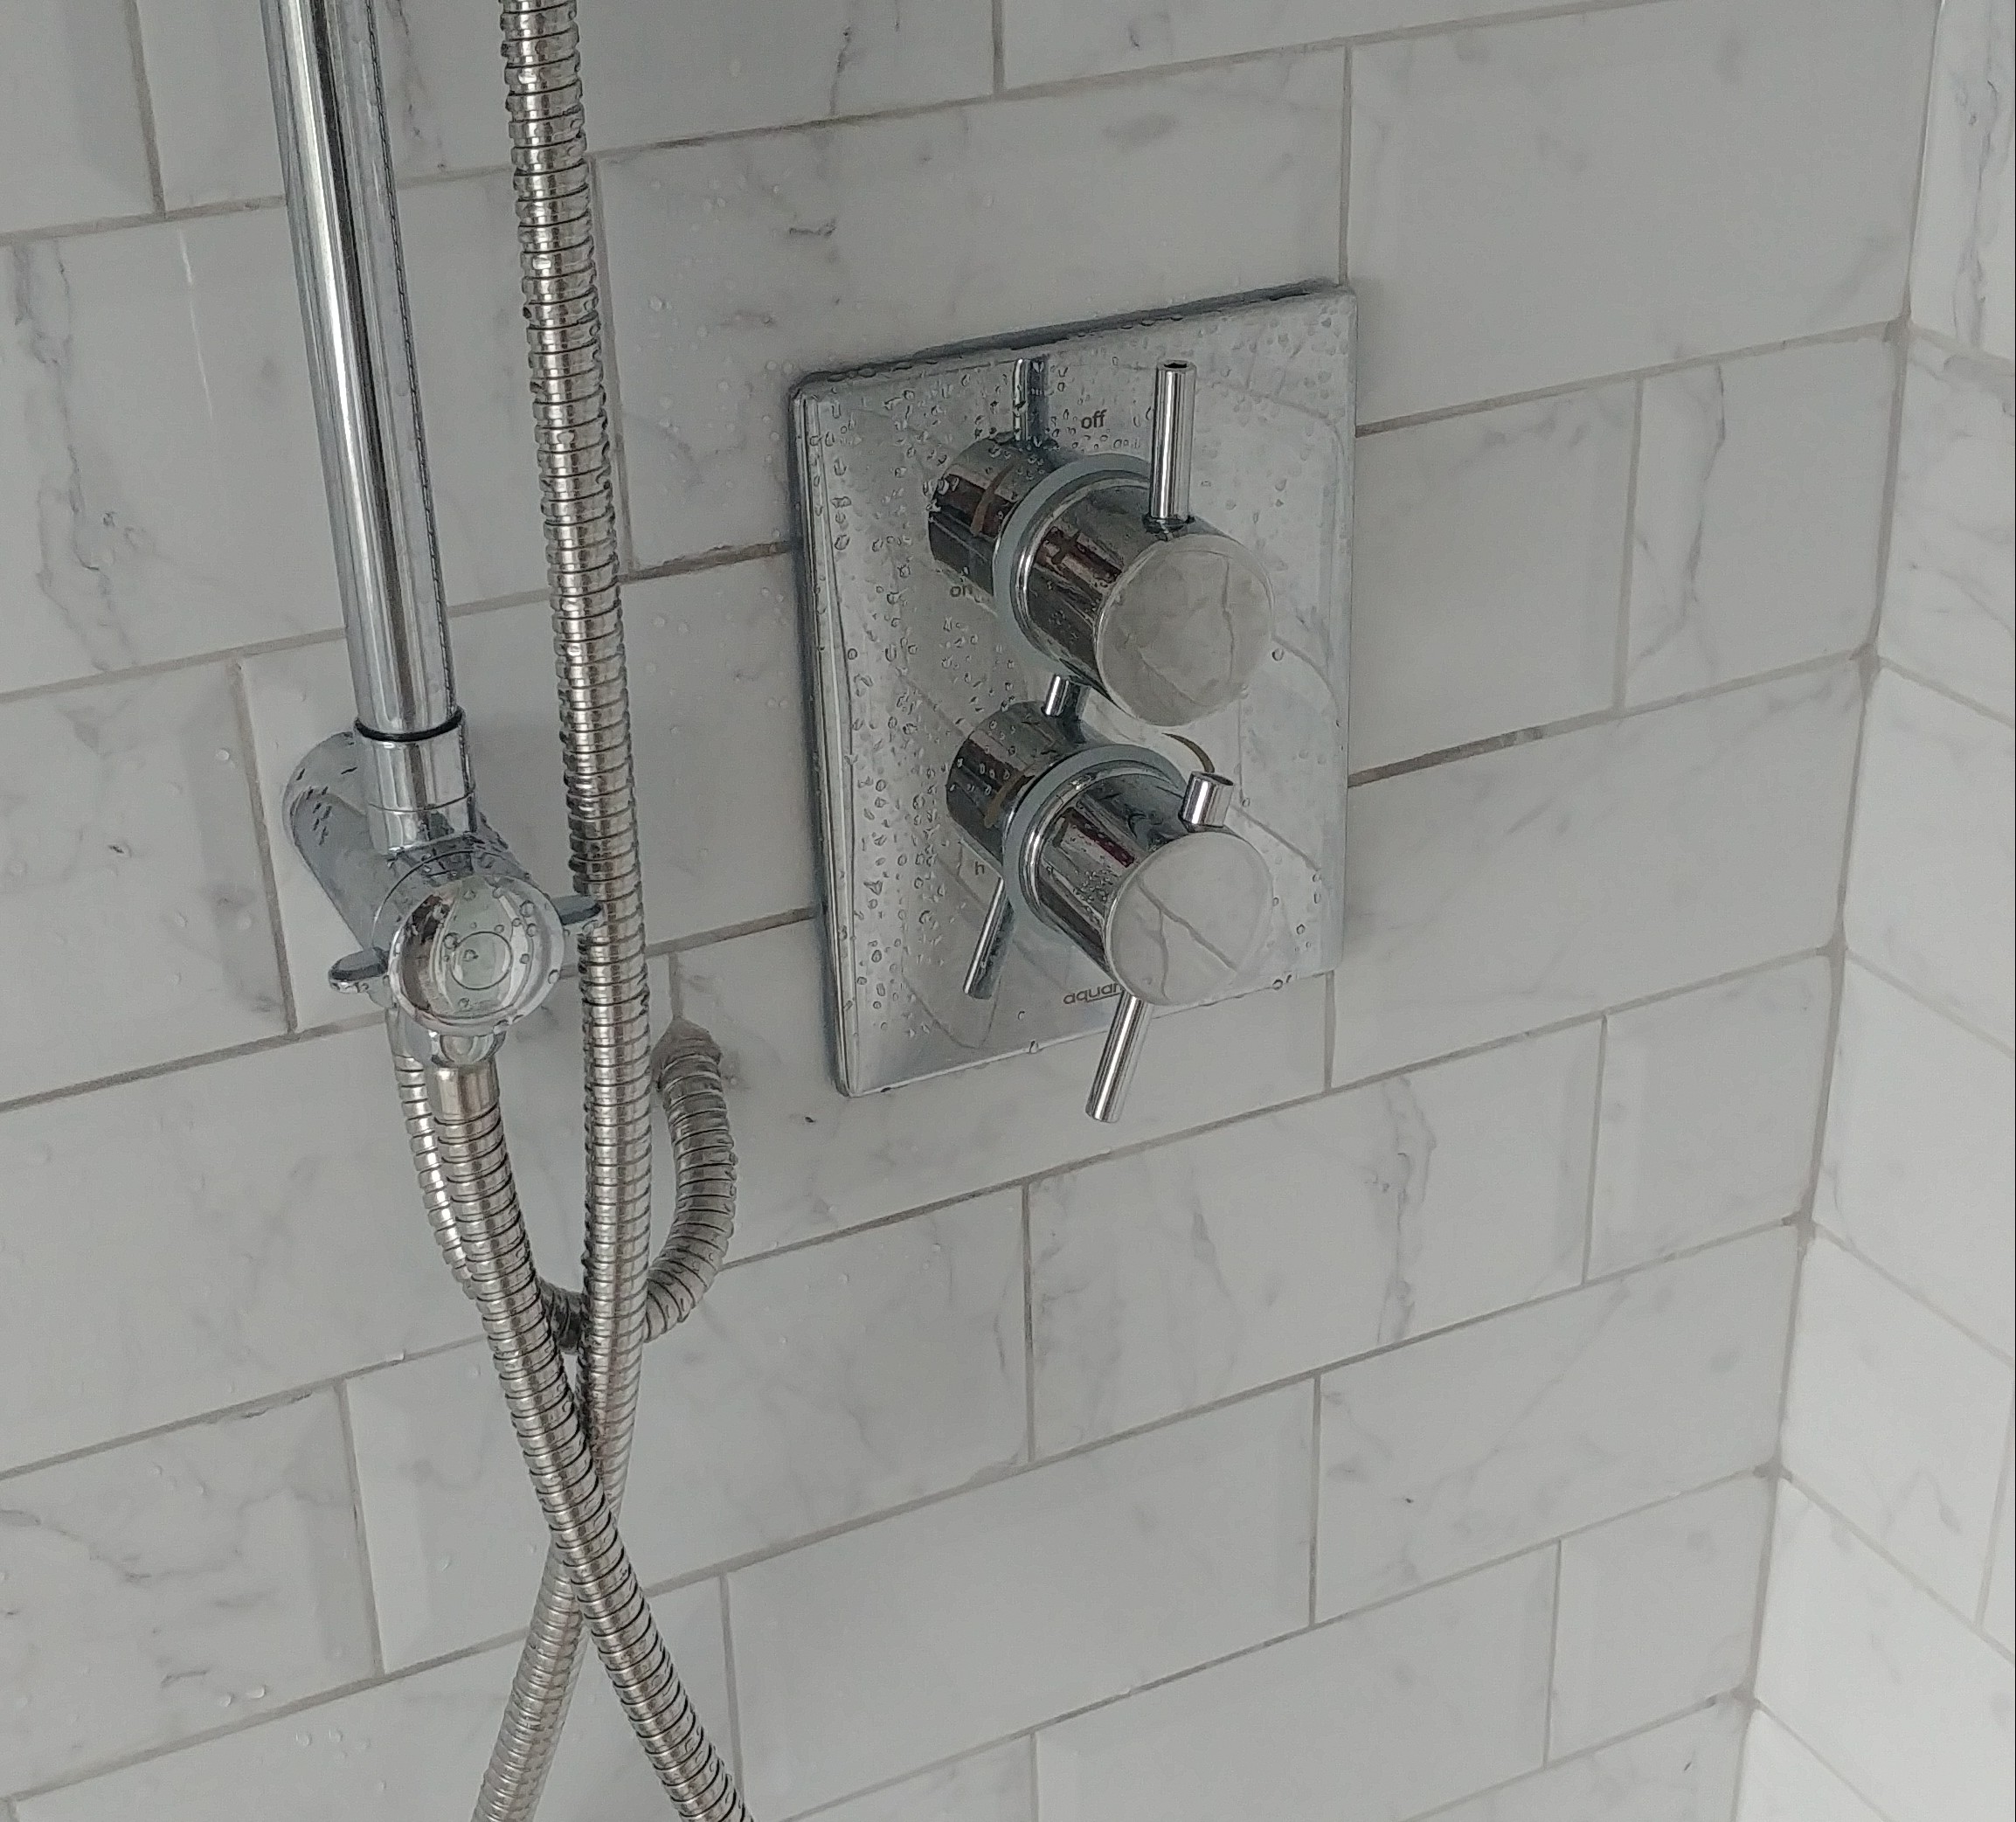
Thermostatic shower controls.
Right, on to corner number three. Brace yourselves, there's a few more before and durings here.

I still need to paint the wooden sink support white to match the rest of the room.
We chose a close-coupled WC and a lovely traditional towel rail from Bathroom Takeaway. The WC looks finished in the picture above, but I can reveal that...

Still need to paint the door.
... we haven't boxed it in yet. It's plumbed in and perfectly functional, and in a different bathroom would go neatly against the wall. But due to the fact that we didn't want to move the waste pipe or (the alternative) situate the toilet so it was basically touching the sink unit, we chose to pull the WC slightly out into the room to accommodate the waste pipe, and then box and tile in it. One day, one day.

I love the juxtaposition of the modern lines of the WC with the classic curves of the radiator.

Grim.

And the starting point.
Final corner.

Excuse the yellow door! It will get a lick of white satinwood at some stage.

We used the bidet plumbing for the sink, and swapped the sink for a tall storage unit.
Right, let's take a look at some of the details.

We used real marble herringbone in the alcoves above the bath. I trust you will also notice that the metro tiles on the alcoves sides *perfectly* match the metro tiles on the wall (she says, happily).

The shower and chandelier reflected in the mirror above the sink. I looked all over the internet for a suitable carved mirror and then realised we had the perfect option hanging in our hallway, which we purchased on holiday in the south of France eight years ago.

Sorry, I got a bit over-excited with the reflection photos. You can see the other tiled alcove, which we used to site the handheld shower attachment for the bath. We also still need to box in the pipework under the bath, and the wooden support under the waterfall tap.
And let's end up with a few final pictures of my pink beauty. I'm so happy with how the bathroom turned out - we started work in October and finished in March but it was worth the effort.


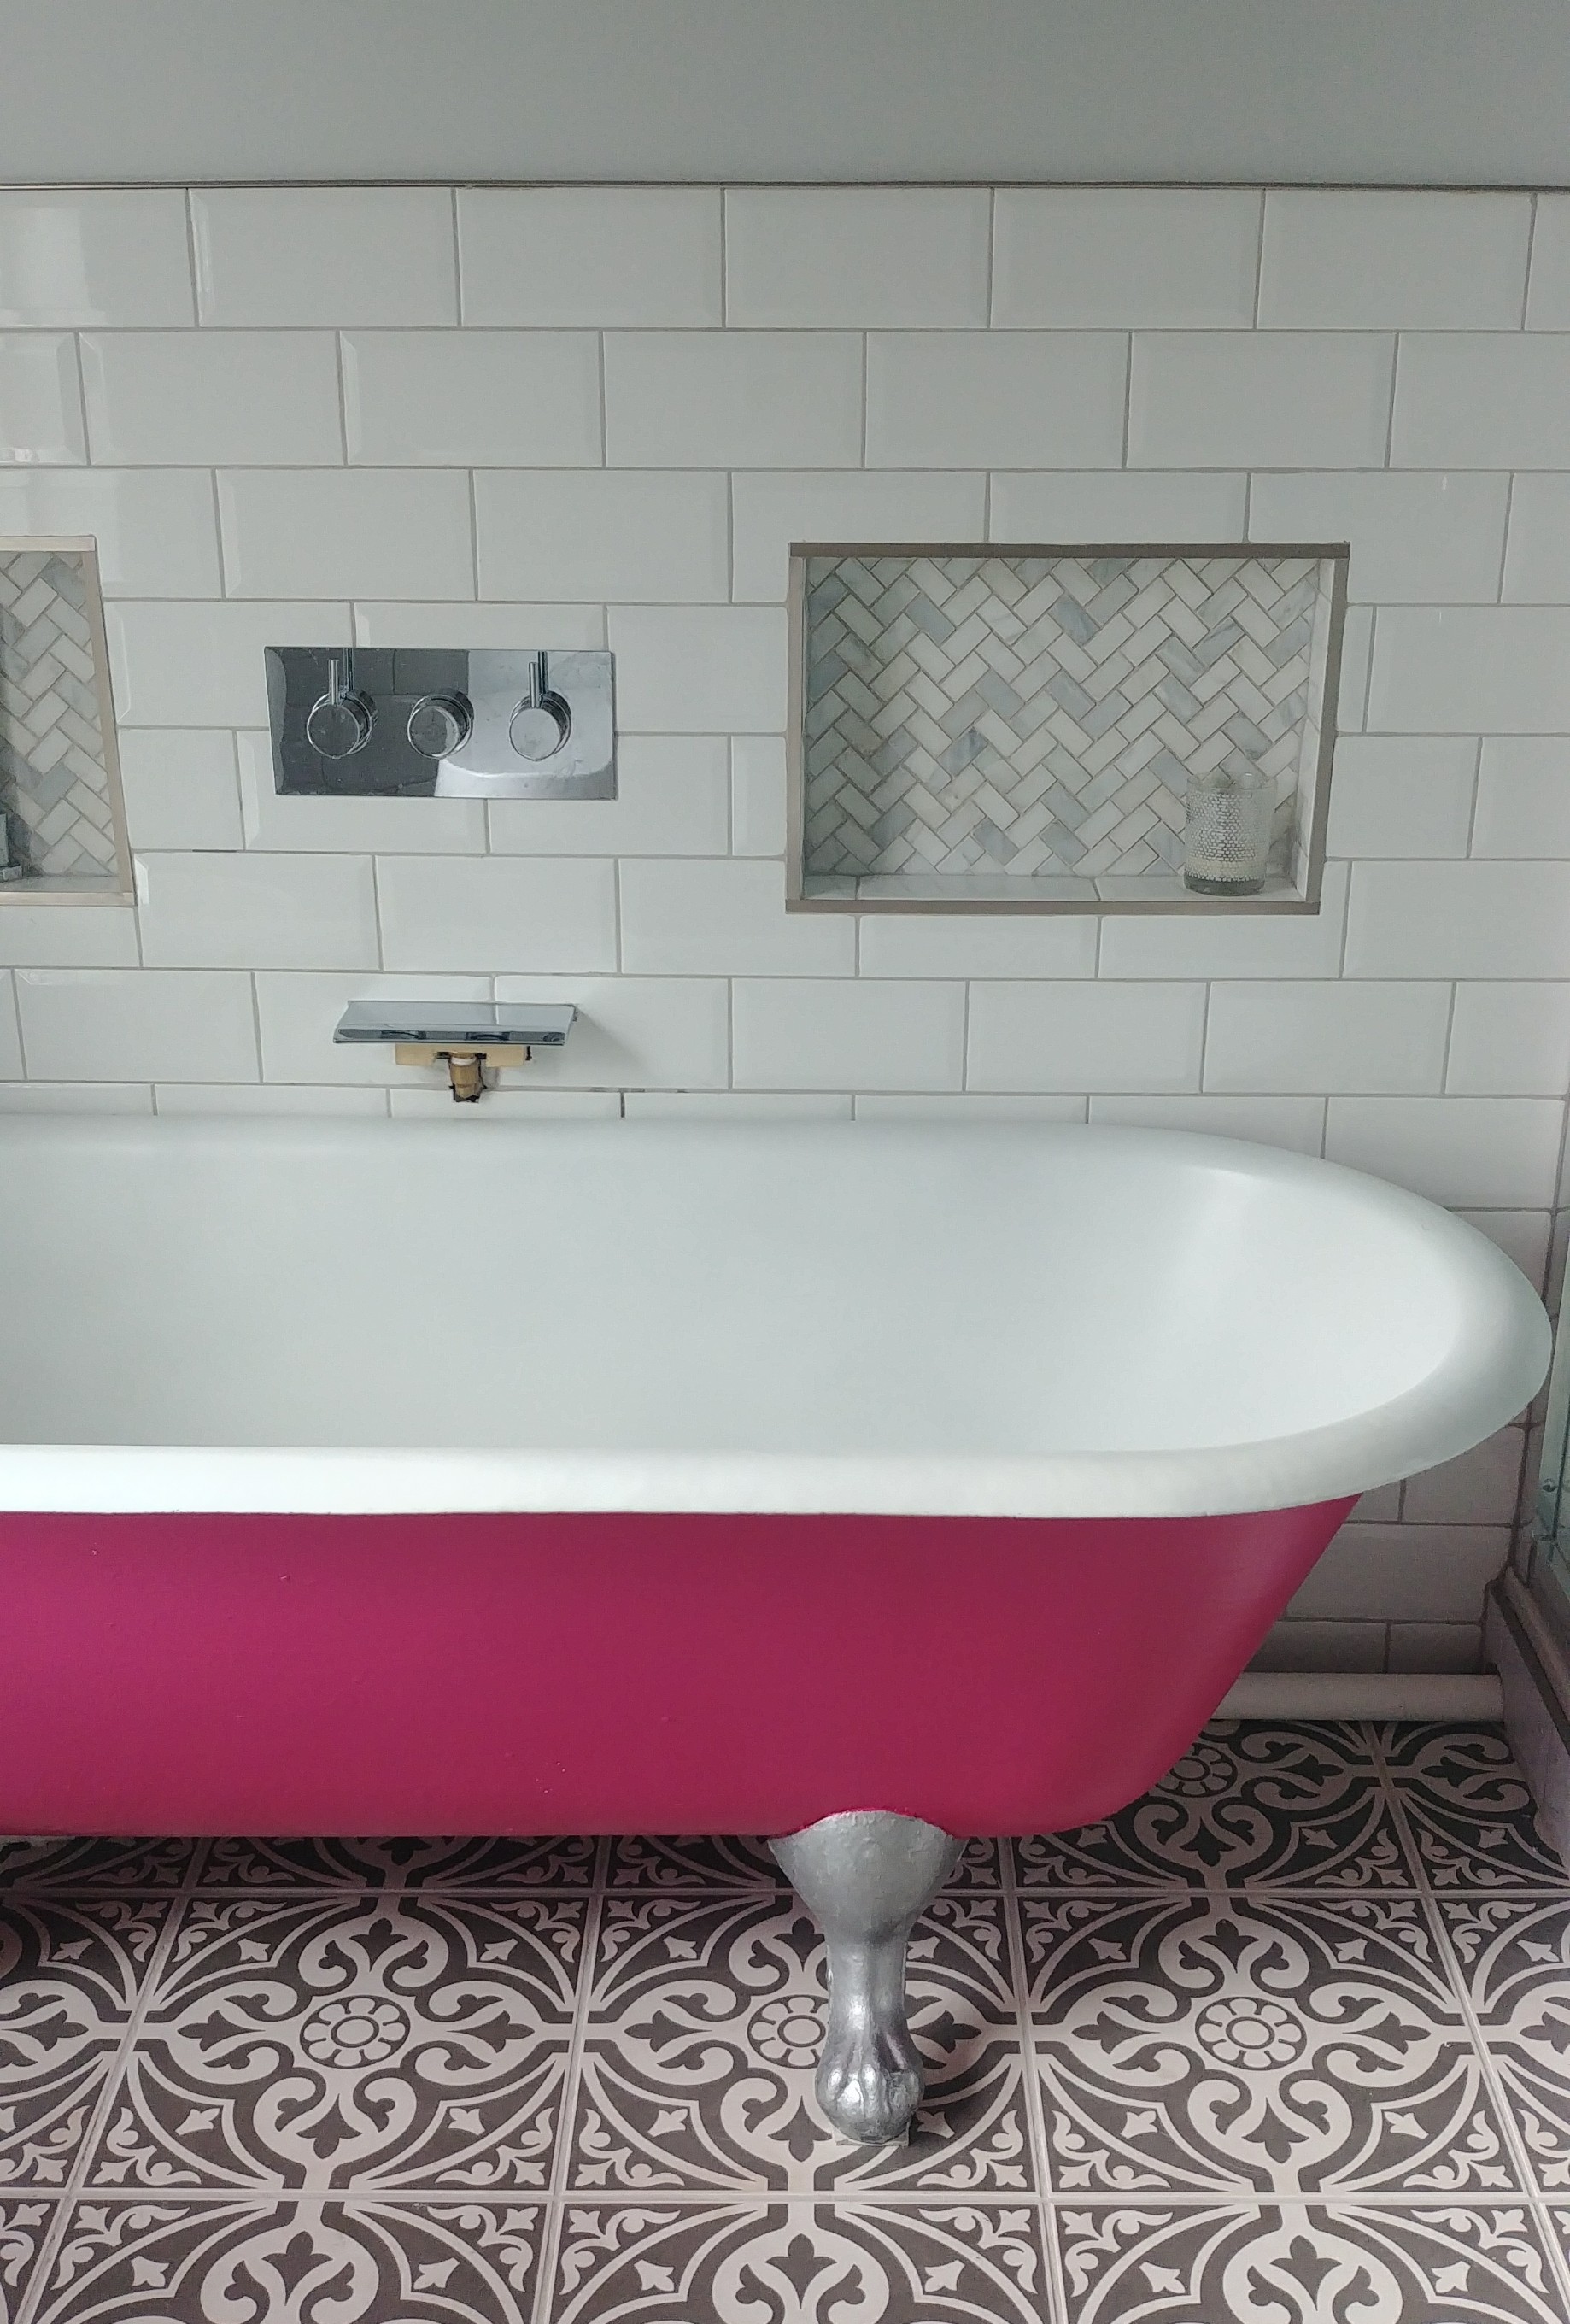
I've always wanted a mad pink bath and now I've got one. Probably in twenty years a future owner will share pictures of it on social media expressing horror at how ghastly and old fashioned it is, but right now I'm one happy bunny.
So one bathroom down, one to go, the hallway needs a lick of paint - and then we've basically finished the entire house. Shocker!