How To Upcycle A Vintage Dining Chair

I think I finished more projects in the three weeks before Elodie arrived than I managed throughout the entirety of 2015. Next up - a dining room chair to add to our slowly-growing eclectic collection. We found a pair of these in our cellar when we moved in, along with a bunch of other random stuff that the previous owner left for us, including but not limited to a filthy ancient fridge that he tried to flog to us for £100 as part of the sale. Majestic.
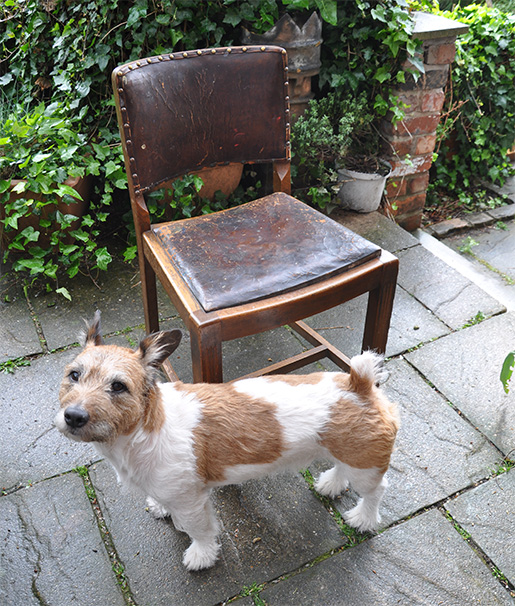
Anyway, I painted one of them yellow and left the 'distressed' leather seat pad intact.

The other one I decided to sand and oil to keep the original wood, but replace the seat pad with new fabric. That's about as far as I got for a couple of years, until I eventually got round to ripping off the old upholstery and sanding it down.

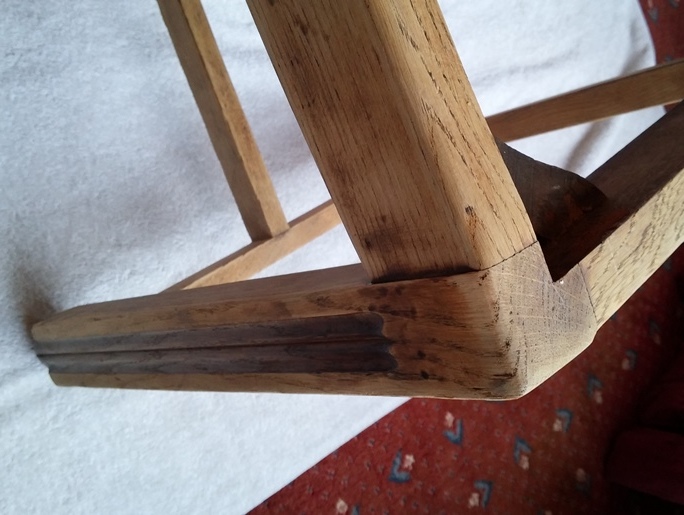
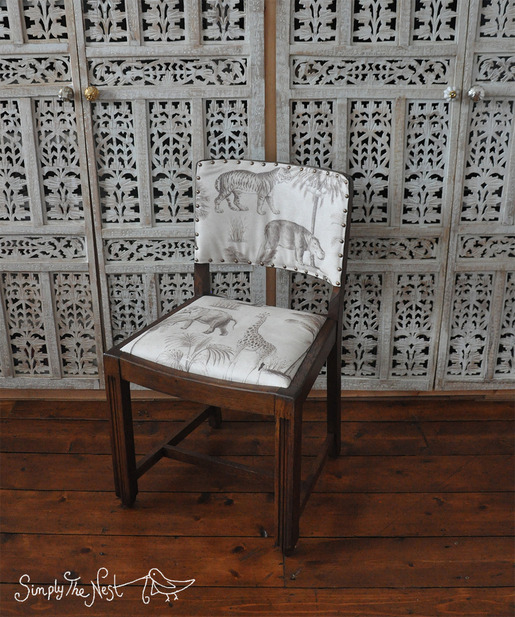
I oiled it using a dark Osmo Polyx oil, which restored the wood beautifully. I bought a piece of Vintage Safari oilcloth (kids = wipe-clean dining surfaces) to upholster the seat pad, along with some brass upholstery pins from eBay.
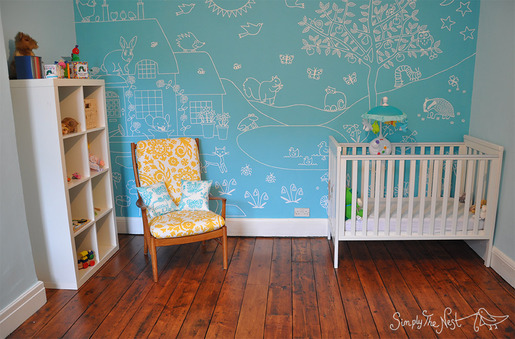
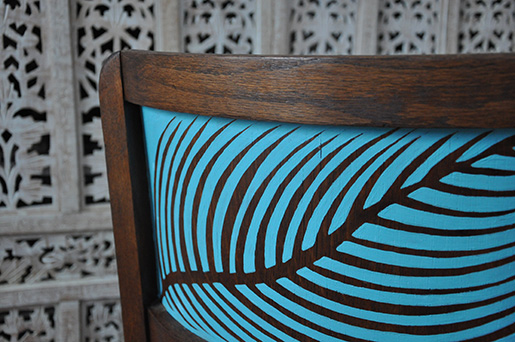
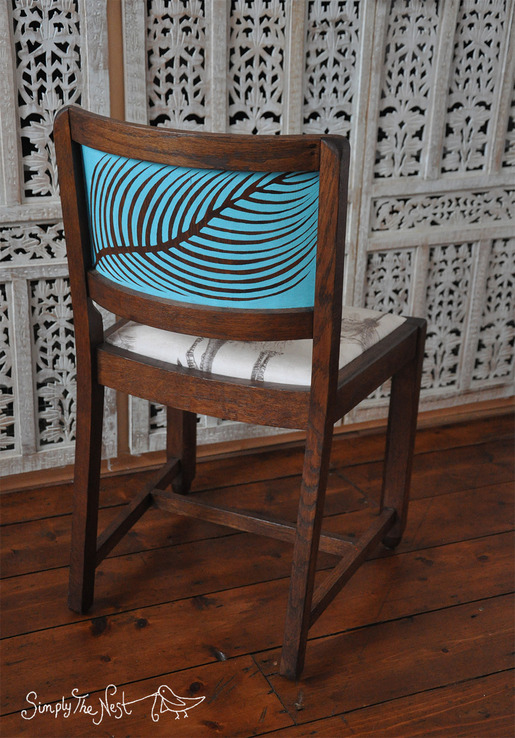
I then decided it needed a bit of a lift (we want to fill the house with pattern and colour to make it more memorable for the children - everyone remembers the crazy patterned carpet in the hall of their childhood home, but the beige cushion? Not so much), so I experimented with stencilling a palm leaf of my own design (picked out from the Vintage Safari fabric) on the back of the chair.
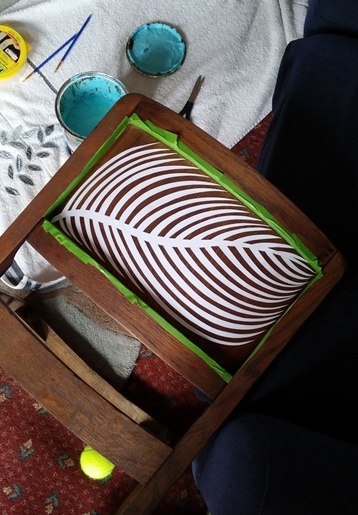
It didn't really work because I used sticky-backed paper to create the stencil, rather than proper vinyl, so I ended up with lots of blurred lines where the paint went underneath the stencil. I actually prefer doing this kind of work by hand though and only tried the stencil as an experiment, so I just used a fine paintbrush to tidy it up. I used one of the turquoise paints that we used in Natalia's bedroom on her mural wall and chest of drawers.
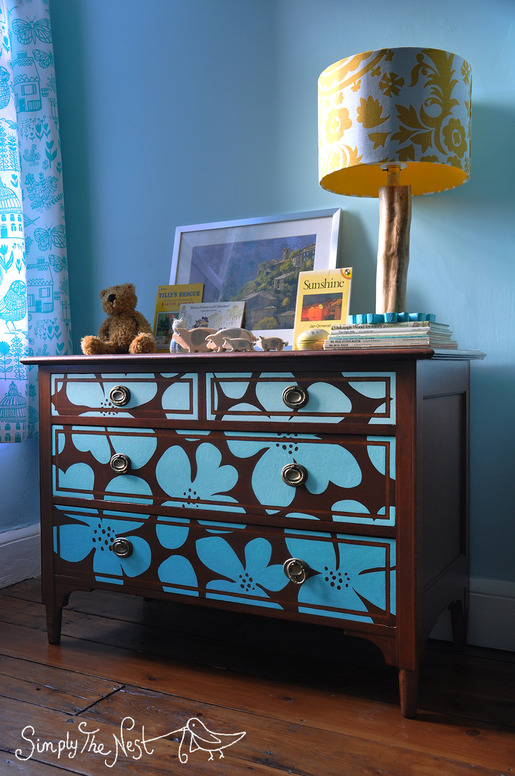
Here's how it turned out once I'd tidied the lines up:
I stapled the oilcloth around the seat pad after adding a few new layers of wadding, and then used the upholstery tacks to hammer the fabric onto the back pad, again with a layer of wadding. This part was harder than I anticipated - you have to really stretch the fabric to get it to look neat while hammering the pins in. Came out looking good enough, though.
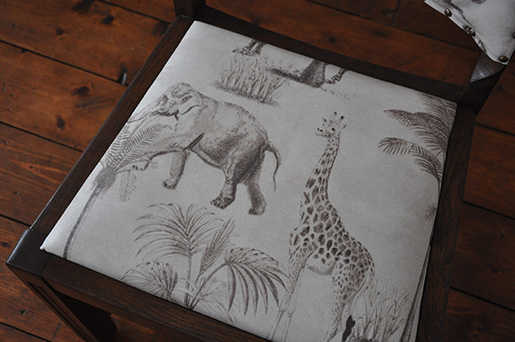
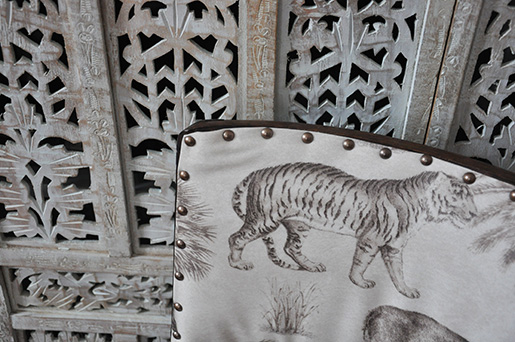
The finished article:
Currently the safari chair and the yellow chair are located in the living room at the kids' art table, but soon they'll be stored carefully in the cellar to make way for the builders, and brought up again in a few months when we're ready to place them at our new reclaimed wood dining table in our new extension.
Click here to leave a comment, if you like.