How To Frame Art For A Child's Bedroom

The nesting instinct is strong in this one. Biology's a funny thing - at this stage in the game I should probably be putting my feet up on the sofa with a box of Guylian chocolate seashells but instead I feel driven to climb up a ladder and do some last-minute hanging of the pictures that have been causing me minor mental irritation for the past year due to their presence in our cupboards and boxes when they should be gracing our walls.
I actually don't want to work out* when I first bought the charity shop frames and Hairy Maclary book containing the pictures I intended to hang in Natalia's room, but suffice to say it was Quite Some Time Ago.

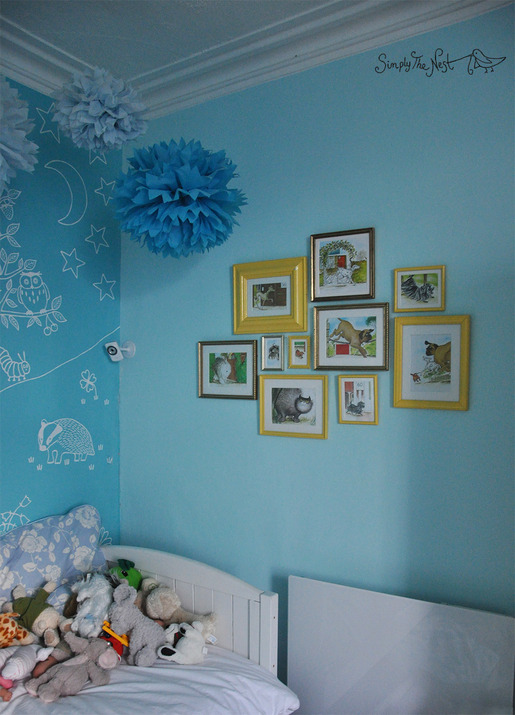
In my defence, framing a few images from Natalia's favourite book to create a gallery on her bedroom wall *sounds* like a very easy thing to do, but as anyone who has hung a gallery wall comprised of personal art in assorted upcycled frames will know, in reality this is fairly time-consuming.
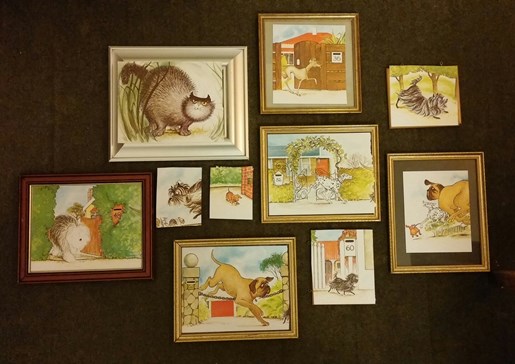

- Buy the book in question. I felt a bit funny about cutting up a book, being the proud possessor of not one, but two, degrees in English literature, but I got over it. Purchasing actual prints of the Hairy Maclary characters would have cost £££ whereas the book cost a few quid.
- Purchase the frames after rummaging through boxes in a variety of local charity shops
- Buy a can of spray paint from B&Q
- Take the frames apart. Advice - do not discard any picture wire or hooks that came with them, as you'll only have to replace them in future.
- Spray the frames first with primer, and then with several layers of paint.
- Work out which image to put in which frame.
- Order mounts online, after carefully calculating all the dimensions. I've never bought custom mounts before and while it was a faff to do all the measuring and ordering, the quality is fantastic for a very good price.
- Clean and polish all the glass.
- Store the whole kit and caboodle in your cupboard for at least six months.
- Reassemble the pictures with their new mounts and newly painted frames. Realise you have lost all the original hangings and have to improvise new ones with picture wire, drawing pins and sellotape.
- Spend half an hour searching your phone for the photo you took of the original layout.
- Quickly hang the pictures using a hammer, ruler, pencil, eraser, and Ikea picture hanging kit while your children wrestle each other hazardously on the floor at your feet.
- Stand back and admire your work.

I then got overexcited and hung a collection of art from my own childhood on Natalia's fireplace wall above her book shelves, including a piece of embroidery that I sewed when I was a kid, and a stained glass cat. I've been storing these things in boxes for years waiting until I finally had the opportunity to do something with them.

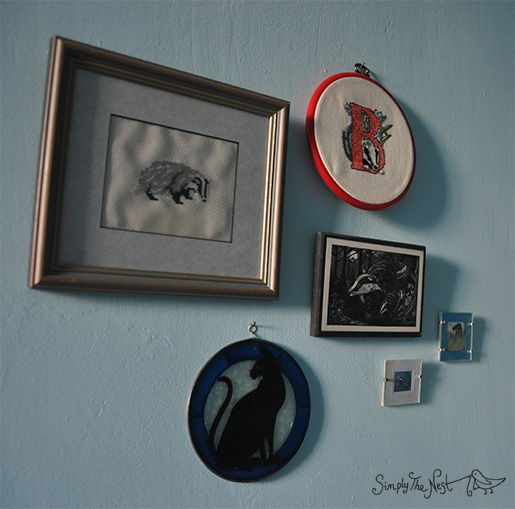
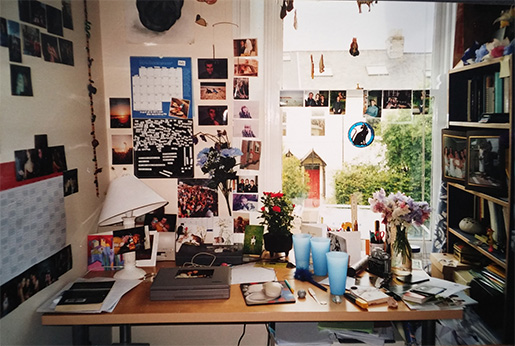
If you look closely at the pictures below, you can see the cat featuring in a couple of my student bedrooms (I had a LOT of stuff back in the day, apparently - a minimalist I was not).

As with the patchwork noticeboards, I immediately felt a profound sense of inner peace at ticking off another couple of projects from my to-do list, the incompletion of which had been causing a sensation of minor but distinct mental irritation.
Click here to leave a comment, if you like.
*I checked, of course. It was this time last year. Yikes! Must be a tad more efficient in 2016 :-)