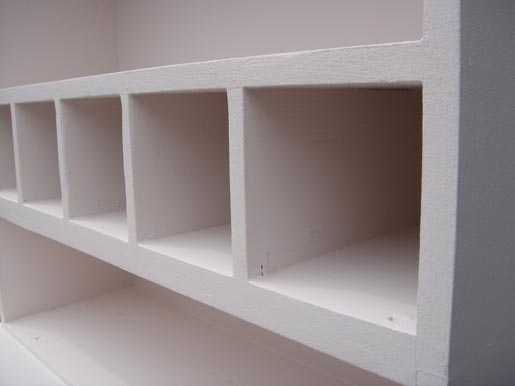
Five Hours Of Painting Later...
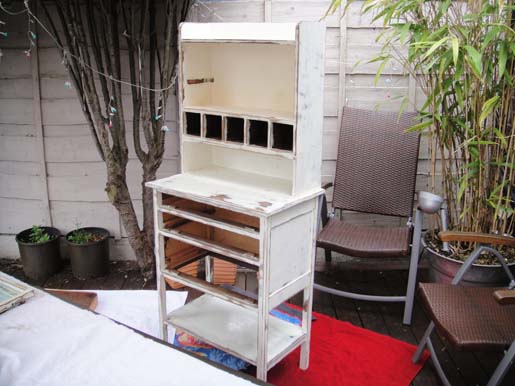
A few weeks ago I blogged about the heirloom medicine cabinet that recently came into my possession:
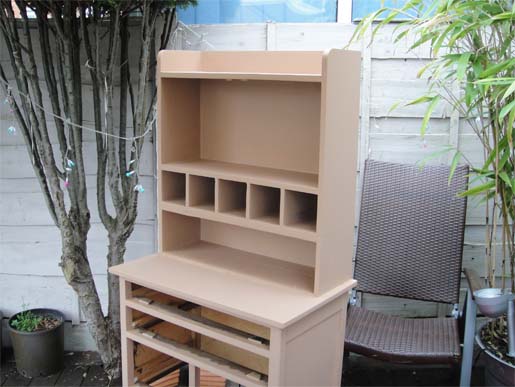
I decided to give it a nice distressed finish - so the first step (after sanding it down) was to paint the base coat (ie the colour that would show through on the parts that had been distressed).
Three solid hours of painting later, and here's how things were looking:
I had toyed with the idea of painting it scarlet or turquoise, but the only place it could fit in our dinky little casa was the living room, which is a lovely sanctuary of ivories, duck-egg blues and coffee colours, so I had to keep it neutral to fit with the existing decor. We'll need to move to a bigger place before I can start going all Design Sponge on the furniture. So that meant cappuccino for the base, and latte for the top coat.
OK, OK, brown for the base and lighter brown for the top coat.
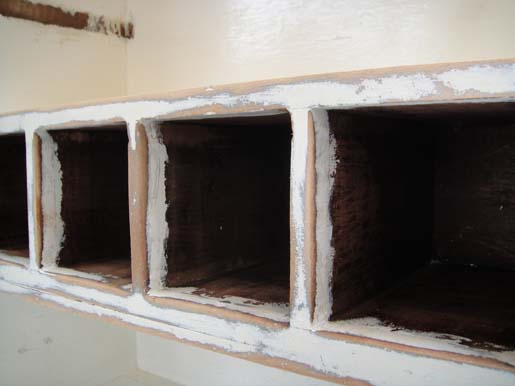
I then took a wax candle, and rubbed it liberally along all the edges and corners of the cabinet (ie the parts that I wanted to distress). This makes it easier to sand off the top coat to reveal the layer below, cos the paint doesn't stick to the waxed areas as well.
After waiting for it to dry, I painted the top layer, which took another couple of hours:
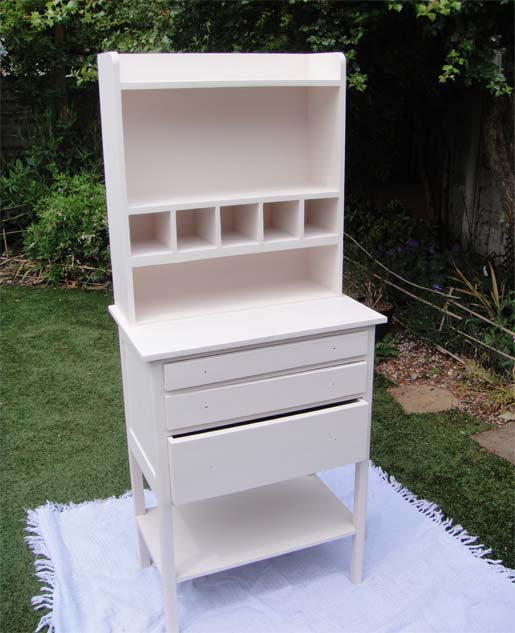
Can you spot the difference?
Next steps will be to distress it, do something with the tin boxes, and fit new drawer handles.
Bring it on!